 Create Your Portable Hydrogen-Infused Water Maker
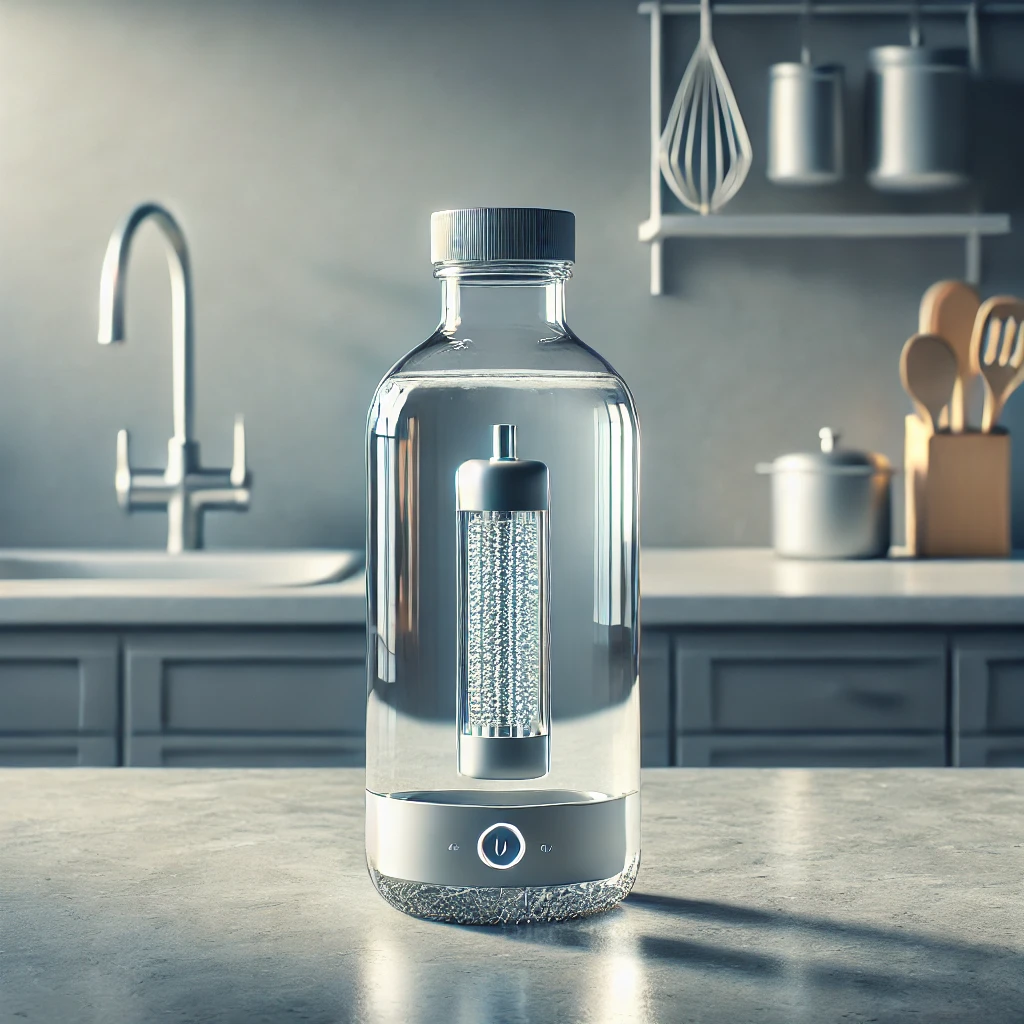
Abstract: Hydrogen-infused water has gained popularity for its potential health benefits, including antioxidant properties and enhanced hydration. This project demonstrates how to create a DIY hydrogen water bottle, allowing you to enjoy hydrogen-rich water conveniently. Using simple materials and basic electrolysis principles, this project combines science and practicality.
Introduction: Hydrogen-infused water is water enriched with dissolved hydrogen gas, which is believed to help reduce oxidative stress and inflammation in the body. Commercial hydrogen water bottles can be expensive, but with this DIY project, you can create your own portable version and explore the science behind it.
Statement of Problem: Accessing hydrogen-infused water often requires purchasing costly specialized bottles or equipment. This project addresses the need for an affordable, homemade alternative that allows individuals to produce hydrogen-rich water easily.
Materials Required:
- A clear plastic or glass bottle with a secure lid
- Two stainless steel plates or rods (for electrodes)
- Distilled water
- Baking soda (sodium bicarbonate)
- A small rechargeable battery (e.g., 3.7V lithium-ion battery) or a USB power source
- Electrical wires with alligator clips
- Rubber or silicone sealant
- Safety goggles
Procedure:
- Prepare the Bottle:
- Select a clear bottle with a secure lid. Drill two small holes in the lid for the electrodes.
- Insert the stainless steel plates or rods into the holes, ensuring they do not touch each other. Seal the holes with rubber or silicone to prevent leaks.
- Create the Electrolyte Solution:
- Fill the bottle with distilled water, leaving some space at the top.
- Add a pinch of baking soda to improve water conductivity for the electrolysis process.
- Set Up the Electrolysis System:
- Connect the positive terminal of the battery or USB power source to one electrode and the negative terminal to the other using electrical wires with alligator clips.
- Ensure the connections are secure and insulated.
- Start Generating Hydrogen:
- Activate the power source. Bubbles will form on the electrodes as hydrogen gas is produced at the cathode (negative electrode) and oxygen at the anode (positive electrode).
- Let the process run for a few minutes to infuse the water with hydrogen gas.
- Enjoy Your Hydrogen Water:
- Turn off the power source and disconnect the wires. The water is now enriched with hydrogen and ready to drink.
Observations:
- Bubbles forming on the electrodes indicate the generation of hydrogen and oxygen gases.
- The water becomes slightly cloudy, which clears up after the process is complete.
Precautions:
- Use only food-safe materials to ensure the water is safe for consumption.
- Avoid using high voltage to prevent overheating or accidents.
- Conduct the project in a well-ventilated area to avoid gas accumulation.
Variables:
- Independent Variable: Voltage applied to the electrodes.
- Dependent Variable: Concentration of hydrogen in the water.
- Controlled Variables: Volume of water, concentration of baking soda, and size of electrodes.
Scientific Insight: Electrolysis splits water molecules into hydrogen and oxygen gases. The dissolved hydrogen enriches the water with its purported health benefits. This process demonstrates the practical application of electrochemistry in enhancing daily hydration.
Conclusion: This DIY hydrogen water bottle project provides an affordable and practical way to produce hydrogen-infused water at home. By understanding the electrolysis process, you can enjoy the benefits of hydrogen-rich water while exploring sustainable and innovative solutions for personal health.

