Abstract
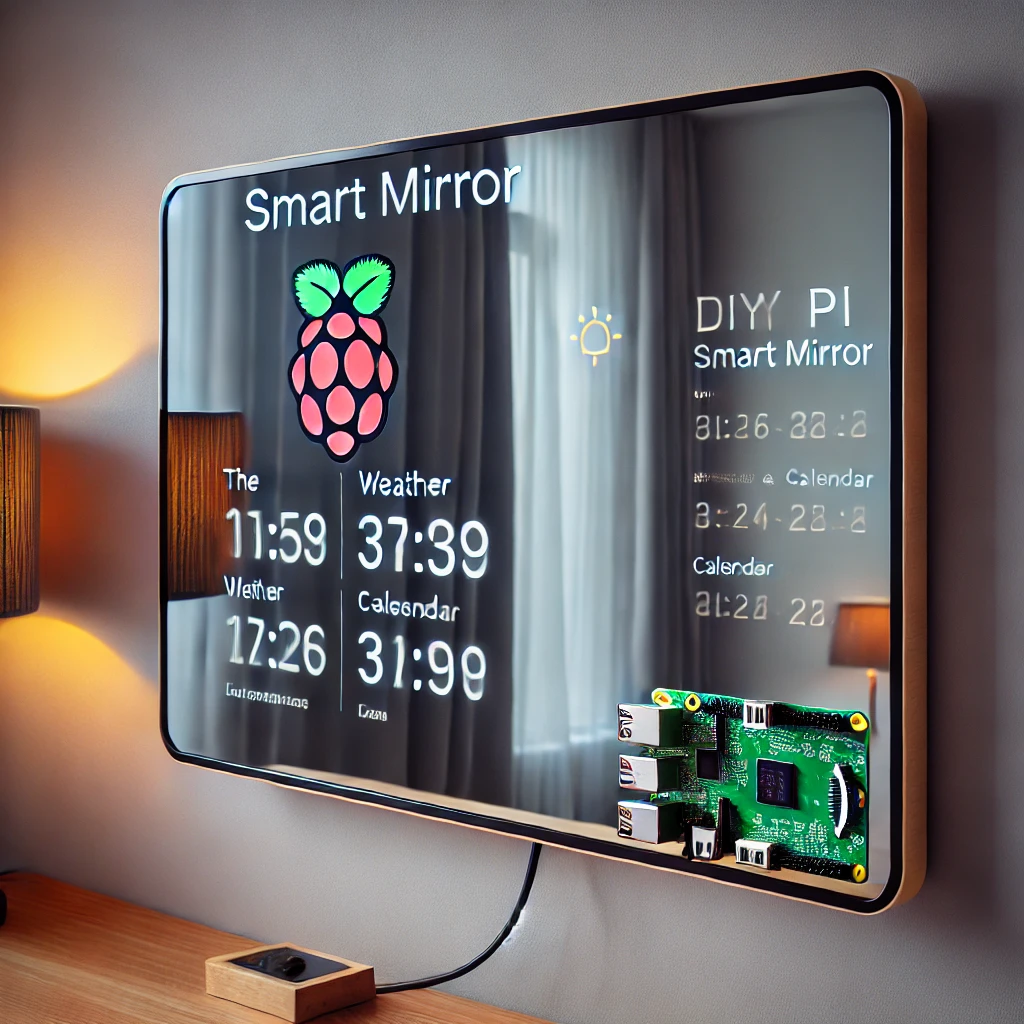
A smart mirror is a futuristic and functional addition to any home, displaying time, weather, notifications, and more while maintaining a sleek, reflective surface. However, commercial smart mirrors are often expensive. This project explores an affordable and straightforward DIY method to repurpose an old TV into a smart mirror using a two-way mirror film, a Raspberry Pi (or similar device), and open-source software. The final setup provides a modern, interactive display while reducing electronic waste.
Statement of the Problem
Many households have old or unused TVs that contribute to electronic waste. At the same time, smart mirrors are gaining popularity but remain costly, limiting accessibility. This project seeks to address these challenges by offering an affordable, sustainable solution to repurpose an old TV into a smart mirror.
Project Objectives
- To convert an old TV into a fully functional smart mirror.
- To integrate a smart display for time, weather updates, calendar events, and news.
- To minimize electronic waste by repurposing old screens.
- To create an interactive, visually appealing home gadget at a low cost.
Materials and Tools Required
- Old Flat-Screen TV – Preferably with an HDMI port.
- Raspberry Pi (or Mini PC) – For running the smart mirror interface.
- Two-Way Mirror Film or Acrylic Mirror – To achieve the reflective effect.
- Wood or Acrylic Frame – To house the TV and create a mirror-like appearance.
- HDMI Cable – To connect the Raspberry Pi to the TV.
- Smart Mirror Software (MagicMirror²) – Open-source platform for customization.
- Basic Tools (Screwdriver, Tape, Cutter, Ruler) – For assembly.
Procedure
Step 1: Preparing the TV
- Remove the outer plastic casing of the old TV to make it slimmer.
- Clean the screen thoroughly to ensure a clear display.
Step 2: Applying the Two-Way Mirror Film
- Measure and cut the two-way mirror film to fit the TV screen.
- Apply the film carefully, removing air bubbles for a smooth finish.
- If using an acrylic mirror, place it in front of the TV instead.
Step 3: Installing the Smart Mirror Software
- Install Raspberry Pi OS on the Raspberry Pi.
- Download and set up MagicMirror² software to customize display modules.
- Connect the Raspberry Pi to the TV via HDMI.
Step 4: Building the Frame
- Construct a wooden or acrylic frame to enclose the TV.
- Ensure ventilation for heat dissipation.
- Mount the framed mirror securely on the wall or a stand.
Step 5: Testing and Final Adjustments
- Power on the Raspberry Pi and TV.
- Configure Wi-Fi, weather updates, and additional widgets like news and calendar.
- Adjust brightness for the best mirror effect.
Results and Benefits
- Affordable Alternative – Costs significantly less than commercial smart mirrors.
- Customizable Interface – Users can personalize the display with widgets.
- Sustainability – Reduces electronic waste by repurposing old TVs.
- Enhanced Home Décor – A sleek, futuristic addition to any space.
Challenges Encountered
- Brightness Control – Some TVs may be too bright, reducing the mirror effect.
- Frame Construction – Requires precision for a professional look.
- Software Setup Complexity – May require troubleshooting for beginners.
Conclusion
This DIY project demonstrates how an old TV can be transformed into a functional smart mirror at minimal cost. By using a two-way mirror film, a Raspberry Pi, and open-source software, homeowners can create an interactive display for everyday use. The project is not only cost-effective but also contributes to sustainability efforts by repurposing unused electronics.
Recommendations
- Use an OLED or LED TV with a thin bezel for the best results.
- Opt for voice control integration (Alexa or Google Assistant) for added functionality.
- Consider a motion sensor to turn the display on only when someone is nearby.
- If using a desktop PC instead of a Raspberry Pi, ensure low power consumption.